

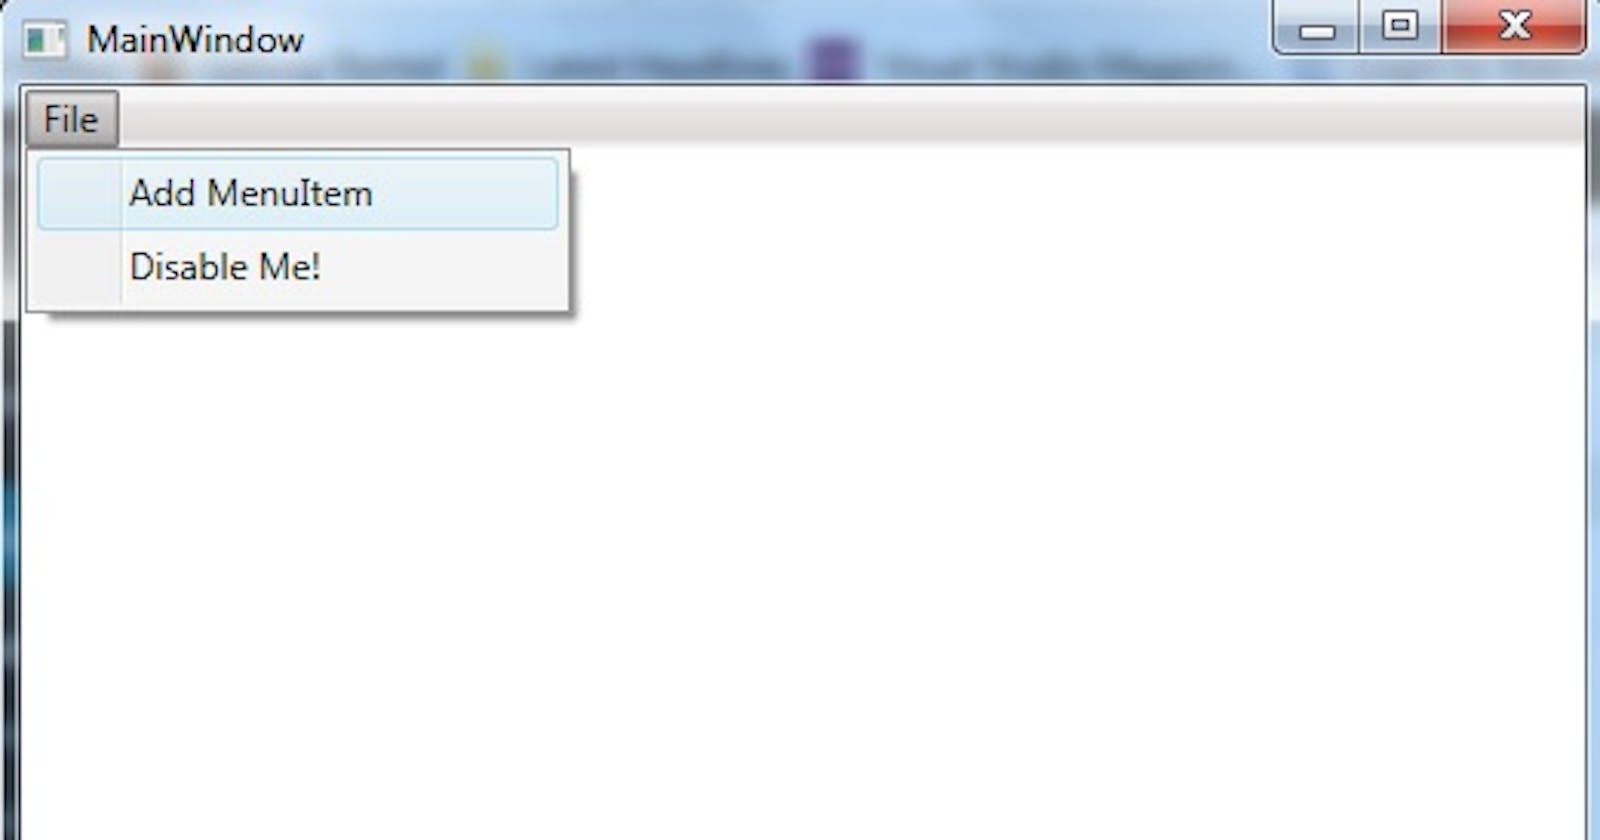


WPF provides some really nice features allowing us to create dynamic user interfaces. In the next 3 posts I will demonstrate how to create a dynamic menu bar [or tool-bar] that we can add and remove items to at run time. For brevity I have limited the scope to exclude any real styling and have created a very simple example that can easily be extended. Where necessary, I will note some options for extending the menu bar to provide increased functionality.
To create a dynamic menu, we need the following:
- A WPF form with a hierarchical data template to display the menu.
- A service to control the adding and removing of items on the menu.
- A way of standardising all the menu items to ensure consistency.
In this first post, I will cover the service controller and standardising our menu items.
Firstly, the menu service. This needs to provide the ability to add and remove items to the menu, and to return our top-level items to the hierarchical data template. Out top-level items will be items like ‘File’, ‘Edit’ etc. In the code below, I have set the top-level items as a list. This means to make it dynamic once it has been created, you may want to replace the list with an observable collection (as sub-items will be) or if left as a list, ensure we notify any binding controls (in this case the hierarchical data template) of any changes by implementing the INotifyPropertyChanged interface in the view model. I have purposely omitted this to reduce code complexity, and in most cases, the top-level menu items will probably be fixed.
public class MenuService
    {
        private List allMenuItems;
        public MenuService()
        {
            allMenuItems = new List();
        }
        public List GetParentMenuItems()
        {
            List parentItems = allMenuItems.FindAll(x => x.Parent == null);
            return parentItems;
        }
        public void AddMenuItem(MenuItem item, string parentName = "")
        {
            if (parentName == string.Empty)
            {
                this.allMenuItems.Add(item);
            }
            else
            {
                MenuItem parent = allMenuItems.Find(x => x.Name == parentName);
                if (parent != null)
                {
                    item.Parent = parent;
                    parent.AddSubMenu(item);
                }
                allMenuItems.Add(item);
            }
        }
        public void RemoveMenuItem(MenuItem menuItem)
        {
            foreach (MenuItem item in allMenuItems)
            {
                item.RemoveSubMenu(menuItem);
            }
            if (this.allMenuItems.Contains(menuItem))
            {
                this.allMenuItems.Remove(menuItem);
            }
        }
    }
Now to standardise the menu items so we can bind to them. Generally there are two options for this, and interface or an abstract class. For this situation, I have opted to use an abstract class, as most of the functionality will be shared across all menu items. The only thing we need to set in each menu are the values to return (name, text to display) and what we will do when we click the menu item. There will also be the optional extra of being able to set the menu item as enabled or disabled. Below is the abstract base MenuItem class:
public abstract class MenuItem
    {
        private string name;
        private string text;
        private ObservableCollection subItems;
        private ICommand onSelected;
        private MenuItem parent;
        public MenuItem(string name, string text)
        {
            this.name = name;
            this.text = text;
            this.subItems = new ObservableCollection();
        }
        public string Name { get { return this.name; } }
        public string Text { get { return this.text; } }
        public MenuItem Parent { get { return this.parent; } set { this.parent = value; } }
        public ICommand OnSelected
        {
            get
            {
                if (this.onSelected == null)
                {
                    this.onSelected = new MenuCommand(this.OnItemSelected, this.ItemCanBeSelected);
                }
                return this.onSelected;
            }
        }
        public ObservableCollection SubItems
        {
            get
            {
                return this.subItems;
            }
        }
        public void AddSubMenu(MenuItem menuItem)
        {
            this.subItems.Add(menuItem);
        }
        public void RemoveSubMenu(MenuItem menuItem)
        {
            if(this.subItems.Contains(menuItem))
            {
                this.subItems.Remove(menuItem);
            }
        }
        public abstract void OnItemSelected();
        public virtual bool ItemCanBeSelected()
        {
            return true;
        }
    }
In the next part I will cover the implementation if ICommand and the hierarchical data template.
The post Creating a Dynamic WPF Menu : Part 1 appeared first on Talking I.T. Through.