In the first part of this series, I introduced the menu service and the menu item base class.
In the second part I introduced the command implementation and the hierarchical data template.
In this third and final part, I will bring it all together.
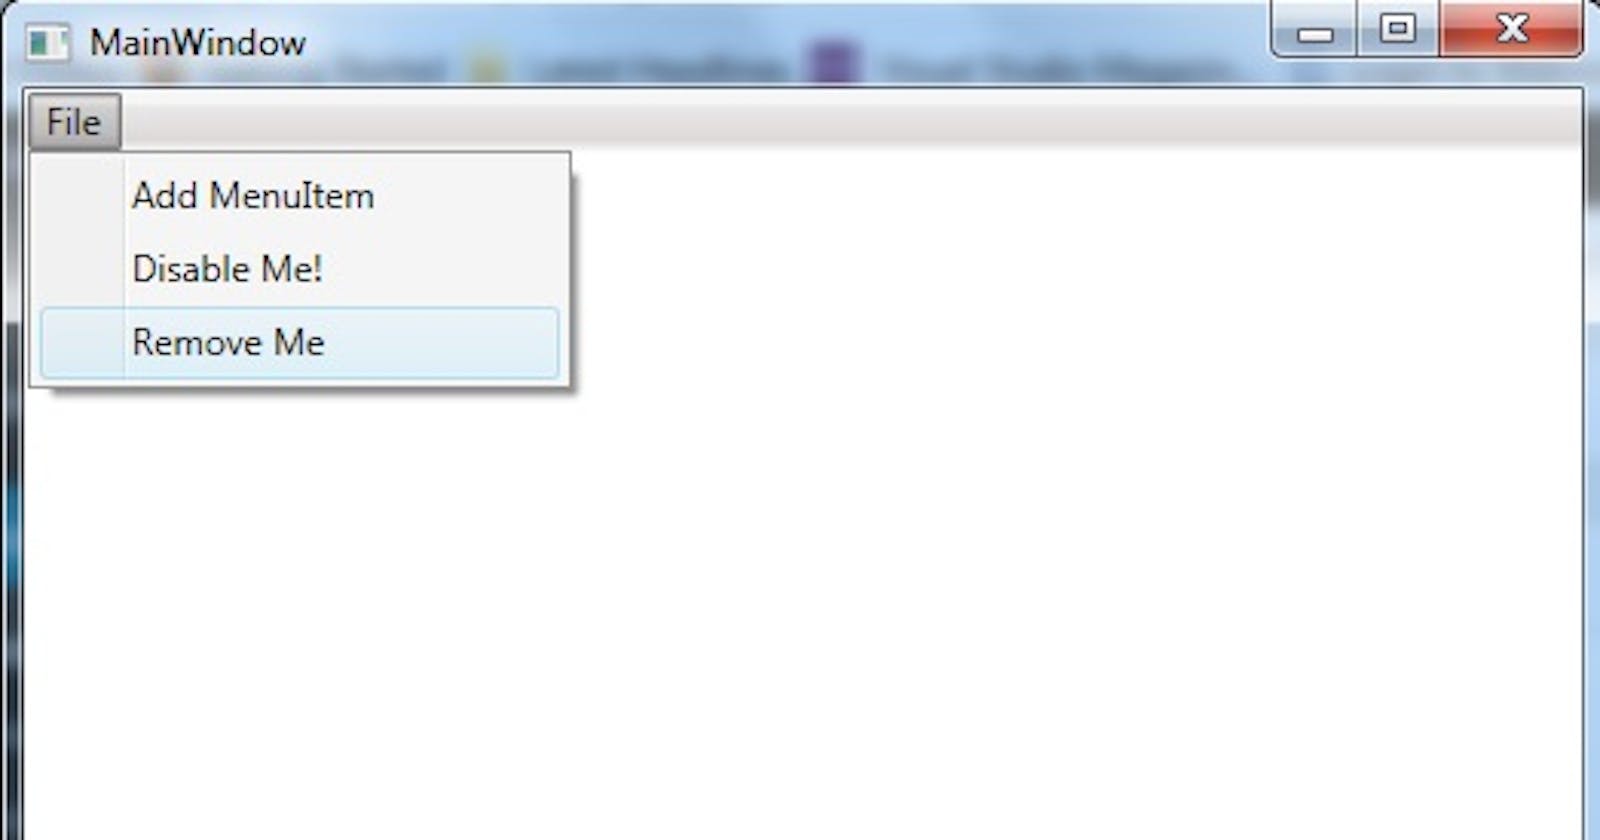
I have created 4 different menu items, a top-level File menu, a menu item responsible for adding a third, which can then remove itself. A fourth item will disable itself when clicked.
Top level file menu:
class FileMenuItem : MenuItem
    {
        public FileMenuItem() : base("File", "\_File")
        {
        }
        public override void OnItemSelected()
        {
            // Top level item, we don't need to do anything.
        }
    }
A menu item which can add a third:
class AddMenuItem : MenuItem
    {
        MenuService menuService;
        public AddMenuItem(MenuService menuService) : base ("AddMenu", "Add MenuItem")
        {
            this.menuService = menuService;
        }
        public override void OnItemSelected()
        {
            RemoveMenuItem removeItem = new RemoveMenuItem(this.menuService);
            menuService.AddMenuItem(removeItem, "File");
        }
    }
A menu item which can remove itself:
class RemoveMenuItem : MenuItem
    {
        private MenuService menuService;
        public RemoveMenuItem(MenuService menuService) : base ("Remove", "Remove Me")
        {
            this.menuService = menuService;
        }
        public override void OnItemSelected()
        {
            menuService.RemoveMenuItem(this);
        }
    }
A menu item which can disable itself:
class DisableMenuItem : MenuItem
    {
        private bool enabled = true;
        public DisableMenuItem() : base("DisableMenuItem", "Disable Me!")
        {
        }
        public override void OnItemSelected()
        {
            this.enabled = false;
        }
        public override bool ItemCanBeSelected()
        {
            return this.enabled;
        }
    }
The view model that initiates the service and starts building the menu’s:
class MainWindowViewModel : INotifyPropertyChanged
    {
        MenuService menuService;
        public MainWindowViewModel()
        {
            this.menuService = new MenuService();
            FileMenuItem fileMenu = new FileMenuItem();
            AddMenuItem addMenu = new AddMenuItem(this.menuService);
            DisableMenuItem disableableMenuItem = new DisableMenuItem();
            menuService.AddMenuItem(fileMenu);
            menuService.AddMenuItem(addMenu, "File");
            menuService.AddMenuItem(disableableMenuItem, ("File"));
        }
        public List ParentItems
        {
            get
            {
                return this.menuService.GetParentMenuItems();
            }
        }
        public event PropertyChangedEventHandler  PropertyChanged;
    }
And setting the data context in the view code behind:
public partial class MainWindow : Window
    {
        public MainWindow()
        {
            InitializeComponent();
            this.DataContext = new MainWindowViewModel();
        }
    }
As you can see, most of the hard work is done in the menu item base class, and the file menu service. After that, adding, removing and disabling menu items is very simple, and can be carried out at run time.
This could be extended to allow separators using a style converter, and an IsSeparator boolean, and additionally it would be easy to include a sort order property which the service can apply/use to order the items, but I have left them out to keep the code clean and straightforward.
The post Creating a Dynamic WPF Menu : Part 3 appeared first on Talking I.T. Through.

